MediaFire Desktop for Windows and OS X has feature to sync only specific folders. You can use it to do selective sync while saving large amount to bandwidth and storage locally.
MediaFire is one of the most popular file sharing websites out there. Though it’s mostly used by pirates to share copyrighted contents, it’s popular among non-pirate users too. It provides 50GB of online storage to free users and also come with a desktop client.

MediaFire’s sync client “MediaFire Desktop” which is available for Windows and Mac aims at helping its users to sync files between online and desktop easily. Once you put a file in MediaFire folder on your local drive, it will automatically be synced to online storage and vise-verse. But in-case you have low-bandwidth or short space on local drive, syncing all files may pose the problem for you if you have big files stored in MediaFire.
MediaFire team is already concerned about this and has added option to select folders only which you want to sync. Here’s how to do it. The following guide is made on Windows 10 Technical Preview, but this is identical to Mac version too.
Guide to Sync Specific Folders with MediaFire Desktop
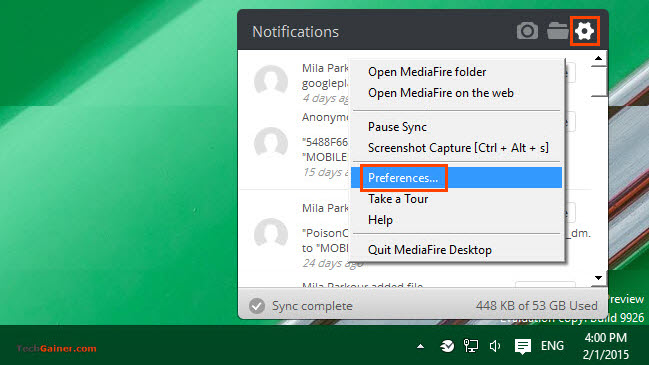
- Right-click on MediaFire Desktop icon from Windows System Tray, then select Settings > Preferences.
- Navigate to the tab Sync Folder and mark “Choose which folders to sync to this computer“.

- Now select the folders you want to sync.
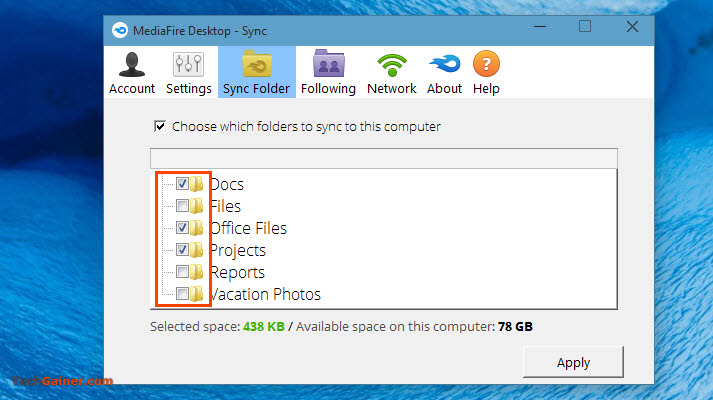
- Once done, hit Apply.
However, MediaFire already offers selective sync option at the first run of the client. But you can use above procedure to change the setting at any time.
Author: Jaber Al Nahian
Jaber is a Programmer and Tech Enthusiast Geek from Dhaka, Bangladesh. He is the founder and Chief-Editor of TechGainer. While he is away from his keyboard, either he's fishing or messing with wildlife. In case, you can contact him at rijans[at]techgainer[dot]com.
Works thanks!!
How to do this on Android?
This info is priceless. When can I find out more?
how to buy canadian viagra buy viagra in bulk buy cheap viagra online with prescription
buy cheapest generic viagra buy viagra cheapest price best buy viagra
cialis levitra y viagra [url=https://cheapcialisir.com/]Cialis[/url] Discreet Cialis Meds cialis generic cost Achat Baclofen En Canada
viagra imagen CadraraBiaws [url=https://acialisd.com/#]cialis online without prescription[/url] Nonyhexy Buy Valtrex 1000 Mg Online groowanirway Cialis ordefSed Amoxicillin Reaction Rash No Other
That is a great tip particularly to those fresh to the blogosphere.
Brief but very precise info… Thank you for sharing this one.
A must read post!
http://jerseys-nba.us/ Cheap NBA Jerseys
http://yeezy.uk.com/ Yeezy
college essays about math media essay help writing a best man speech
essay writers for hire help writing research papers online boston college essay
Keep working ,splendid job! https://chwilowki-pozyczka.pl – szybka chwilówka